This document will allow you to configure the Zoiper softphone application for use with your hosted voice service.
Zoiper Android Setup
- Download and install Zoiper from the App Store here
- Download and install Zoiper from the Google Play Store here
- Open the Zoiper app
- When prompted, enter the following using your SIP credentials:
- Username @ PBX/VoIP provider: Enter the Username@Domain/Proxy
- Password: Enter the Password
- Click Create an Account
4. For hostname or provider, enter the Domain/Proxy from your SIP credentials
5. If you receive an error that the hostname is likely wrong, select Use anyway
6. Check the box that says My provider/PBX requires an authentication username or outbound proxy and enter the below information using your SIP credentials
- Authentication Username: Enter the Username
- Outbound Proxy: Enter the Outbound Proxy
NOTE: Make sure to include the :5060
7. Click Next
8. Select SIP UDP in the possible configuration page

9. Click Finish
10. You will be directed to the contacts page. Click on the Hamburger Menu on the top left
11. A menu should appear from the left with your extension@domain and the words Account is Ready. This means you have successfully registered your phone and can make and receive calls

Troubleshooting Registration with Zoiper (Android)
Note: If you happen to encounter issues with the registration for Android such as Registration failed (408), we recommend following the steps below to register it.
- Click on the Hamburger Menu on the top left

2. Click on Settings
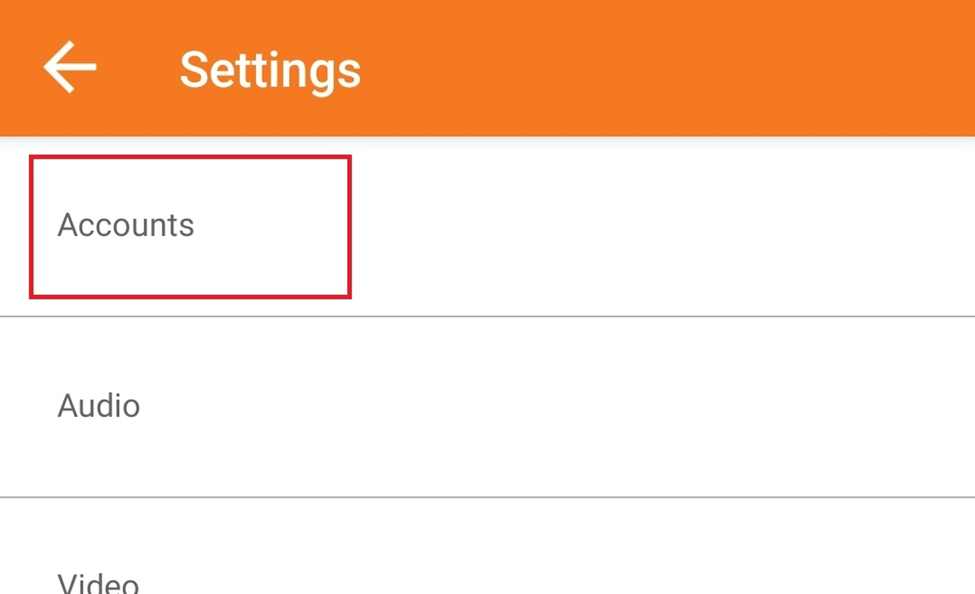
4. Under Accounts and SIP, click on the account that you created

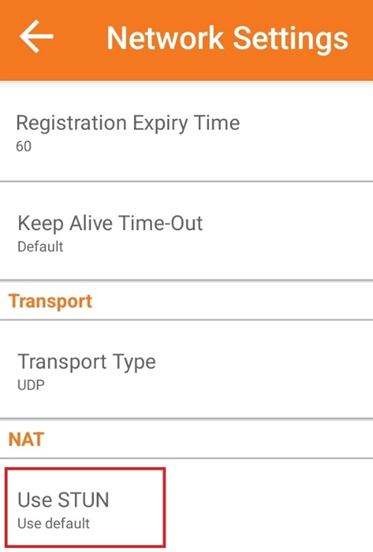
5. Scroll up to the Network Settings

6. Click on Use STUN
7. Then Disable the STUN by choosing NO
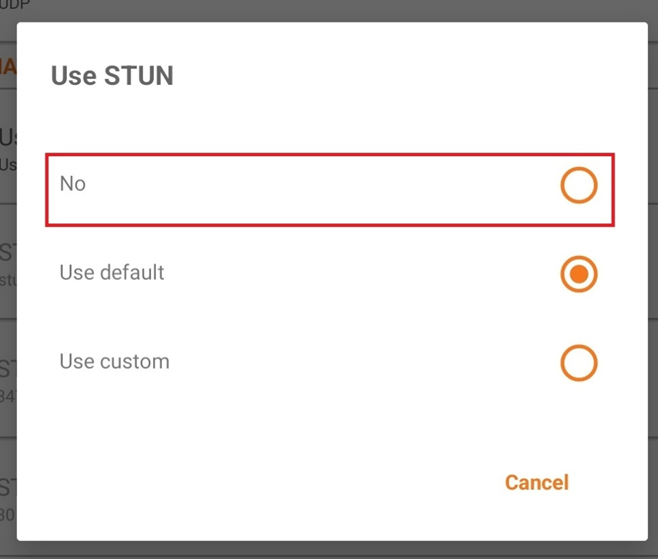
Note: The steps above should automatically make the Zoiper account to re-register again. If successful, then the Account is Ready should be showing after doing so.
We also recommend checking the different Zoiper SIP responses for additional information.
Zoiper iOS Setup
Download and install Zoiper from the App Store here
- Open the Zoiper app
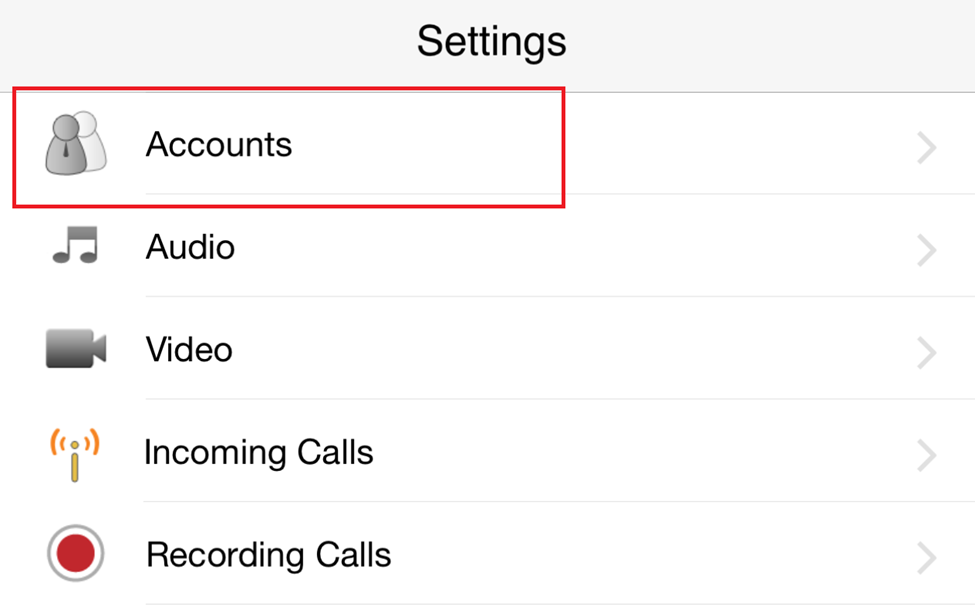
2. Click Settings
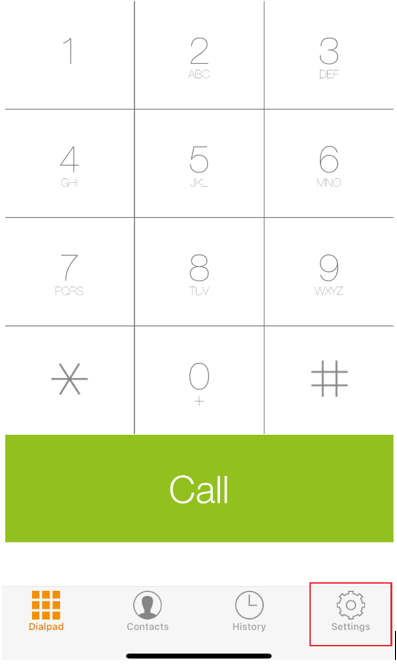
3. Click Accounts
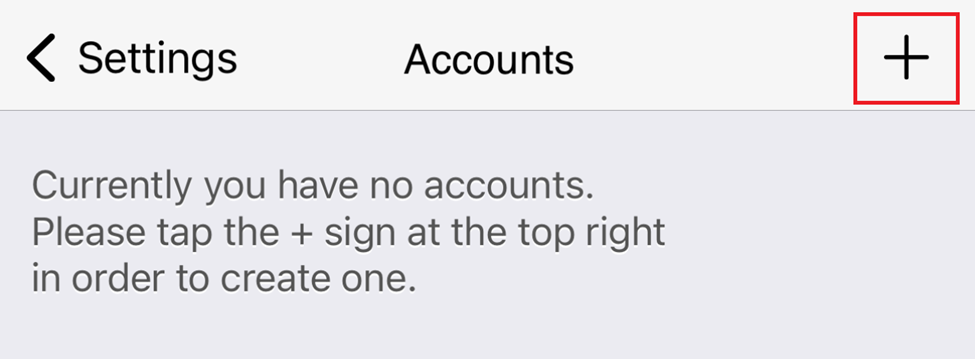
4. Click the + sign
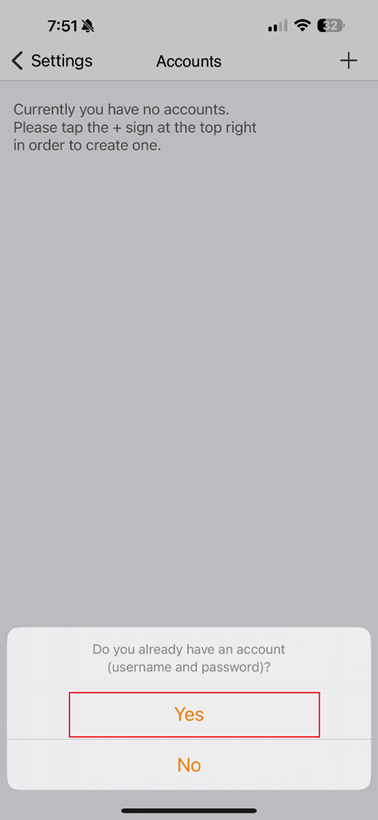
5. When prompted with “Do you already have an account?” Please select Yes
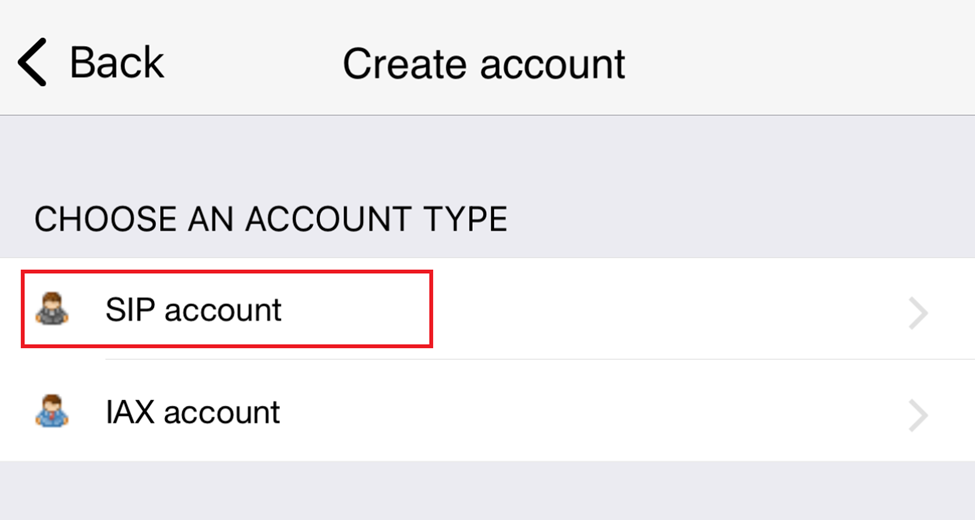
6. Select Manual Configuration

7.Click SIP account
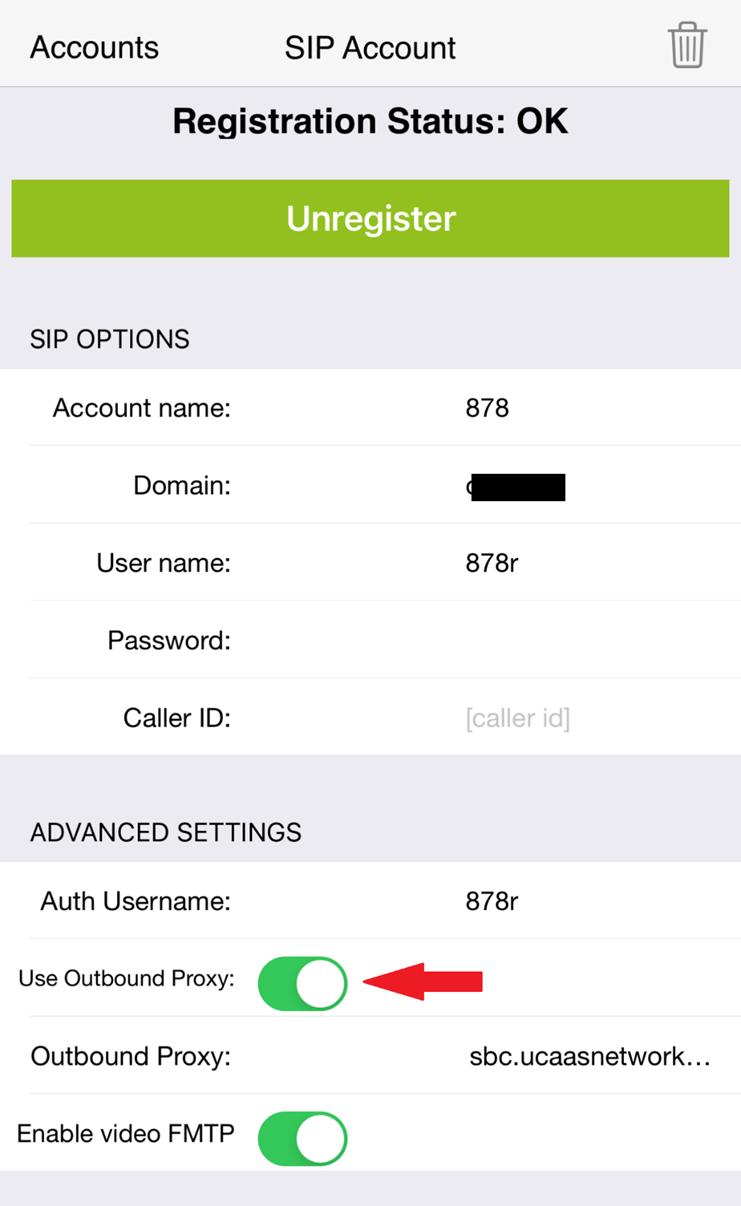
8.Enter the following using your SIP credentials:
- Account name: extension number
- Domain: your domain name or Domain/Proxy
- User name: Username (example: 878r)
- Password: Password from your SIP credentials
- Auth Username: The same from the username above
- Please enable the Outbound Proxy
- Outbound Proxy:
- sbc.ucaasnetwork.com – For ATL
- sbc-las.ucaasnetwork.com – For LAS
- sbc-grr.ucaasnetwork.com – For GRR
- Then press Register above
Troubleshooting Registration with Zoiper (iOS)
Note: If you happen to encounter issues with the registration for iOS such as Registration failed (408), we recommend following the steps below to register it.

- Scroll to the ADDITIONAL SETTINGS and Select Network Settings
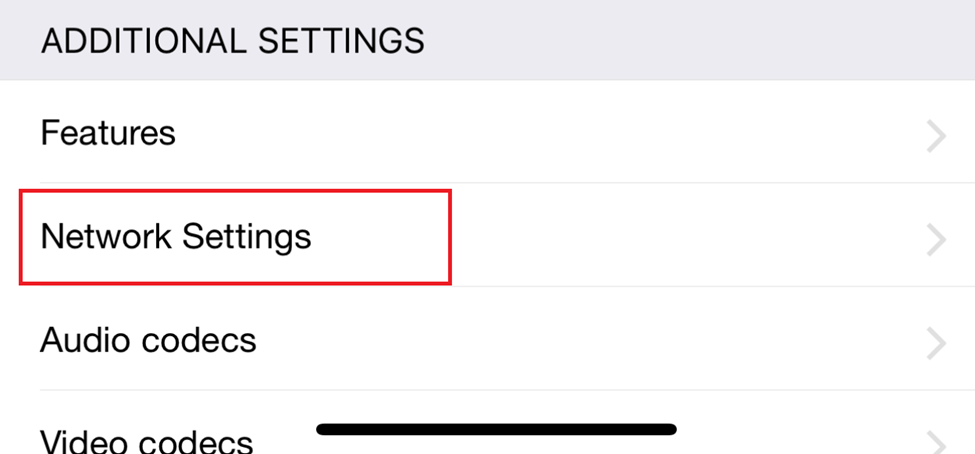
2. Then Disable the STUN by toggling it and select Save

Then you can go back to the Accounts page and hit Register. If successful, then the Registration Status should be showing as OK.
We also recommend checking the different Zoiper SIP responses for additional information.


