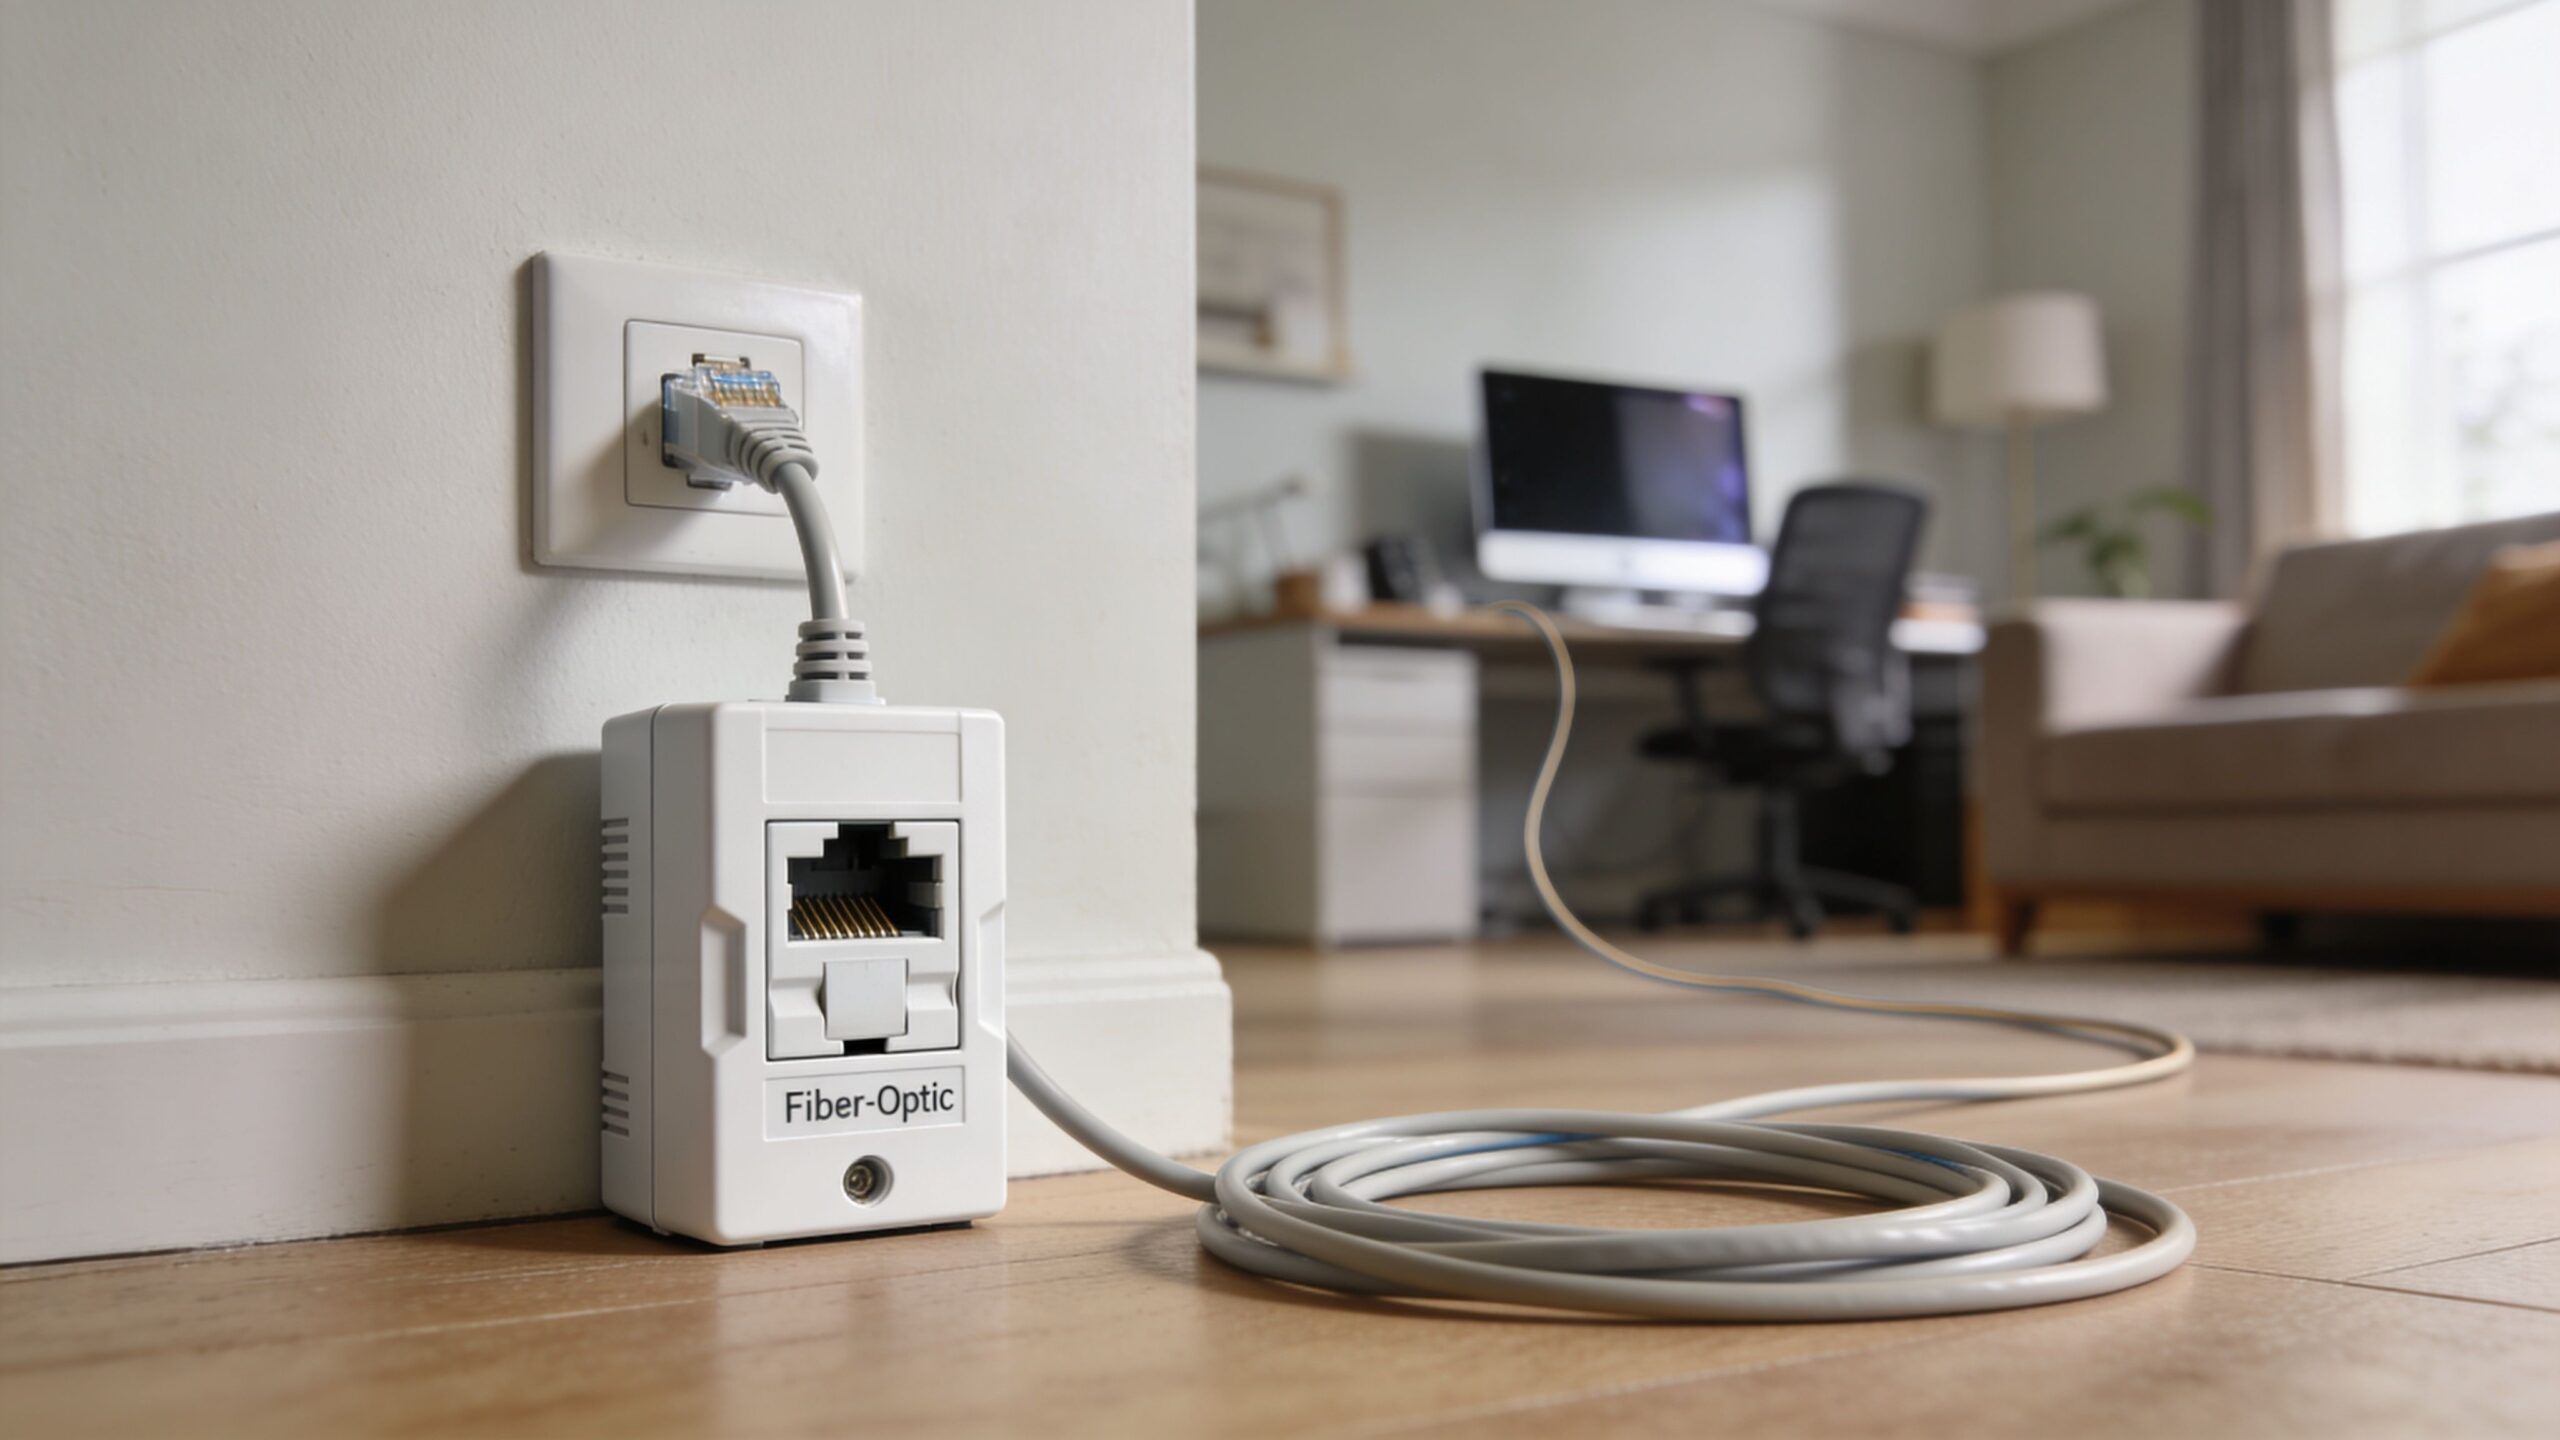
You finally get fiber installed, run a speed test, and everything looks great. Then reality sets in. The fiber jack is behind the TV, your desk is in the spare bedroom, and the gaming setup that needs the most stable connection is across the house.
That’s where most fiber optic cable extension questions start. Not in a data center. In a living room, a small office, or a shop where the internet handoff landed in the least useful spot possible.
A lot of people assume this is just like extending Ethernet. It isn’t. Fiber is fast and reliable, but it’s less forgiving when you bend it too hard, tug it through a tight wall cavity, or mate the wrong connector type. Some extensions are simple and perfectly reasonable for a careful DIY job. Others are where people damage a good install trying to save time or avoid a service call.
Why Your Fiber Jack Is Never in the Right Place
The usual story goes like this. The installer puts the optical network terminal and fiber jack where the entry point makes sense for the service drop. That might be an exterior wall in the living room, a garage, a utility area, or a back office. The problem is that your actual work happens somewhere else.
I’ve seen the same pattern in homes and small businesses. The remote worker wants the router near a desk for stable video calls. The gamer wants the cleanest path to a wired setup. A small retail office wants network gear in a back room instead of on a front counter. The service itself is fine. The placement is what causes friction.
That’s becoming a more common issue because fiber is reaching more locations. In 2023, U.S. fiber deployment passed 9 million new homes, with 13% year-over-year growth, bringing total coverage to 51.5% of all unique homes and businesses, according to Prysmian’s U.S. fiber milestones overview. More homes getting fiber means more people trying to fit a fast connection into an older floor plan.
Where the mismatch shows up
A few common examples come up again and again:
- Home office moves: The spare room became the office, but the fiber handoff stayed in the family room.
- Gaming setups spread out: The console or PC is upstairs, while the incoming service lands downstairs.
- Small business cleanup: Staff want to move visible cables and equipment away from customer-facing areas.
- Wi-Fi dead zones: The best router location for coverage isn’t the same as the easiest place to land the fiber.
If you’re still at the install stage, it helps to understand what’s realistic before the technician leaves. A practical starting point is this guide to fiber optic home installation for homeowners, because many extension headaches begin with planning too late.
A fiber install can be technically correct and still be inconvenient. Extension work is usually about fixing convenience without damaging performance.
The key is knowing which problem you’re solving. Sometimes you need to extend the fiber itself. Sometimes you’re better off leaving the fiber where it is and extending Ethernet from the ONT instead. That choice matters more than is generally understood.
Planning Your Fiber Extension Project
Before buying a patch cable, coupler, or wall plate, map the route. Most failed fiber optic cable extension jobs don’t fail because the parts were exotic. They fail because someone measured loosely, forced a bend, or ran the cable through a path that looked easy but wasn’t safe.
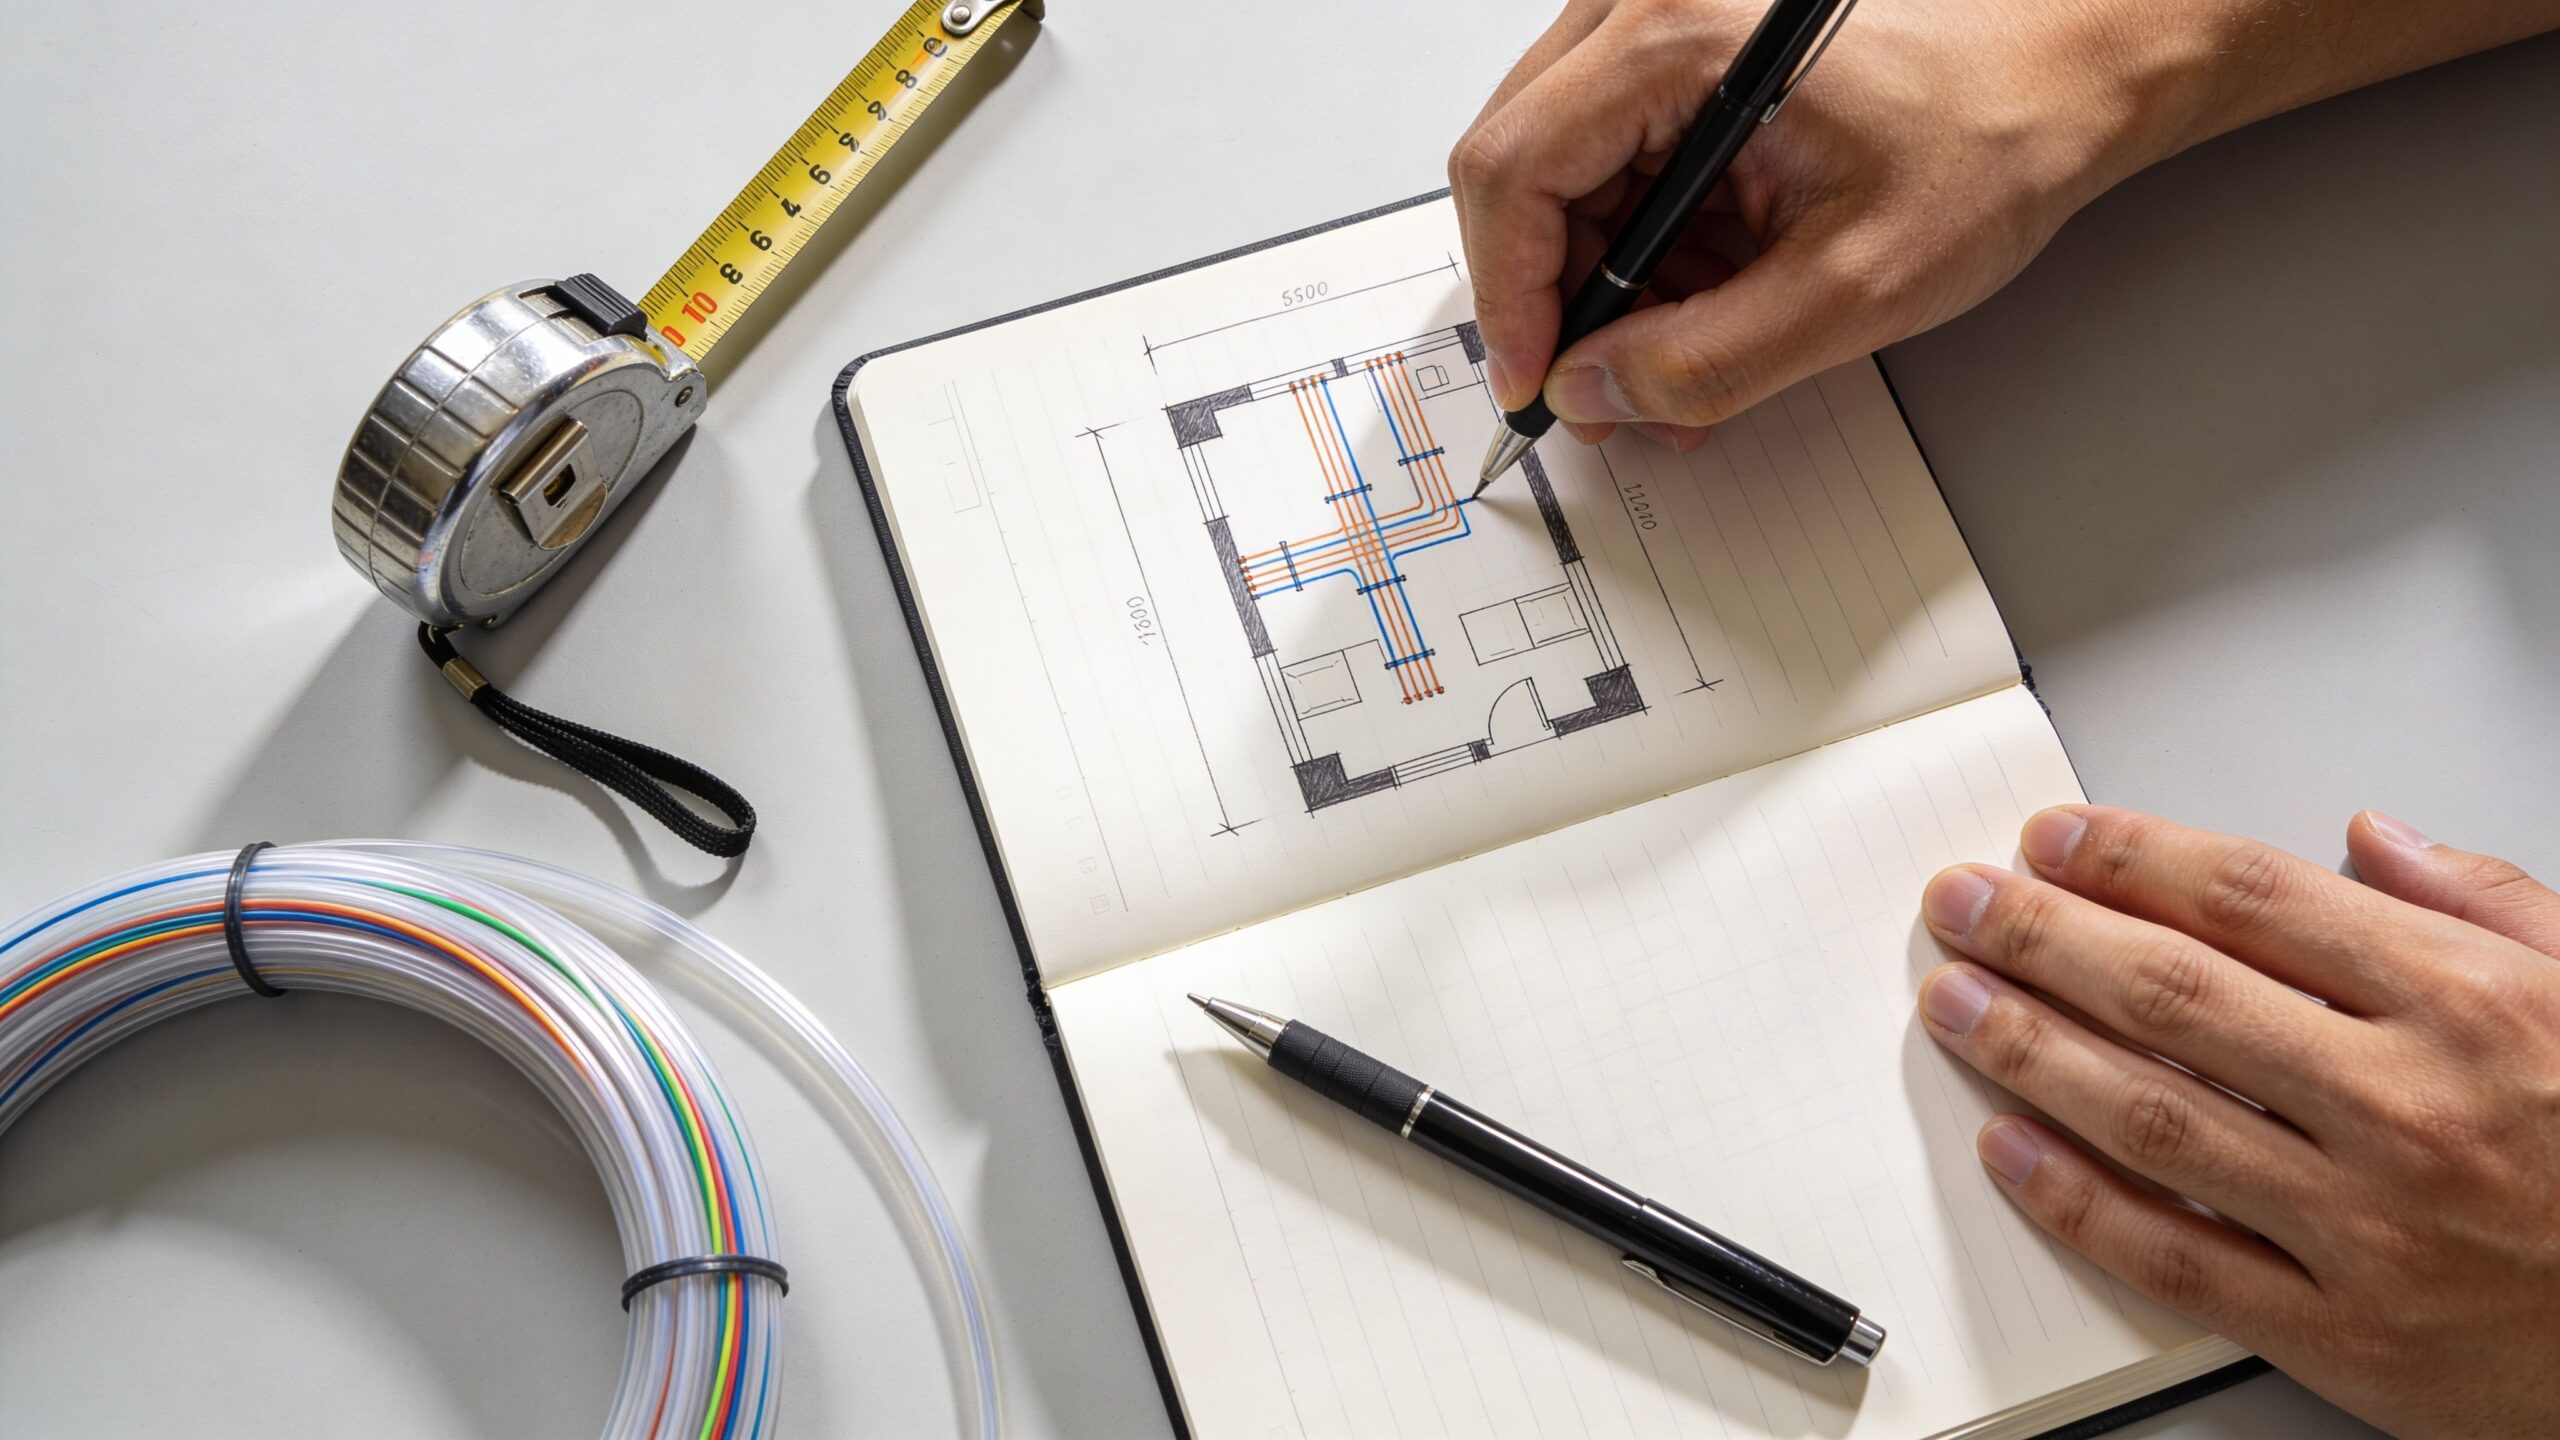
Measure the route, not the room
Don’t measure in a straight line from point A to point B. Measure the actual path the cable will take along baseboards, around door frames, through low-voltage openings, or inside conduit. Then leave slack so the cable isn’t under tension and connectors aren’t hanging by their boots.
A clean plan usually includes:
- Start and end points: Identify the exact jack, ONT, coupler location, or media converter location.
- Cable path: Follow the route by hand and note every corner, wall entry, and furniture obstruction.
- Slack points: Leave service loops where equipment may need to move or be re-terminated later.
- Hazards: Watch for staples, sharp trim edges, hot surfaces, power tools, attic access points, and foot traffic areas.
Bend radius is the rule people break first
Industry standards require a minimum bend radius of 10 times the cable diameter after installation. For a typical 8 mm cable, that means a bend radius of at least 80 mm, according to DINTEK’s fiber installation guidance. Go tighter than that and you risk permanent microfractures and serious signal degradation.
That’s why fiber shouldn’t be tucked sharply behind furniture, pinched under a door, or wrapped tightly around hooks to “clean it up.”
Practical rule: If a turn feels too sharp for a charging cable, it’s probably too sharp for fiber.
Route for signal integrity, not just neatness
The prettiest route isn’t always the best route. I’d rather see a slightly longer baseboard run with smooth turns than a shorter path with one brutal bend behind a cabinet.
Good planning also means thinking about the rest of the network. If the reason you’re moving equipment is poor wireless coverage, don’t guess. A proper in-depth wireless environment analysis can help you decide whether relocating the handoff, moving the router, or adding better Wi-Fi placement will fix the problem.
Decide whether fiber is even the right thing to extend
Many people save themselves trouble by considering the points below. Ask these questions before touching the existing line:
- Can I leave the fiber termination where it is? If yes, extending Ethernet from the ONT may be safer and simpler.
- Is the run indoors and protected? Indoor runs are much more DIY-friendly than outdoor or in-wall work.
- Am I matching connector type and fiber type correctly? Guessing here causes expensive mistakes.
- Will this route stay compliant if someone closes the wall, moves furniture, or opens a door?
If you’re still deciding where gear should live, this overview of the fiber internet installation process helps clarify what parts of the setup are flexible and what parts are better left alone.
What to buy only after planning
Once the route is set, then you choose parts. Not before.
- Pre-terminated patch cable: Best for simple indoor extensions.
- Coupler: Useful when joining compatible pre-terminated connectors.
- Cable clips or raceway: Needed to protect the route without crushing the cable.
- Cleaning tools: Dirty fiber ends cause avoidable problems.
If your plan depends on pulling raw fiber through walls, forcing tight corners, or “making it fit,” stop there. That’s the point where a simple extension turns into a repair job.
Comparing Extension Methods Couplers vs Splicing vs Converters
Most homeowners and small businesses end up looking at three options. Use a coupler with a patch cable, splice the fiber, or convert the signal and extend the connection another way. Each method works. Each has trade-offs. The right choice depends on how permanent the job is, how much risk you’re willing to take, and whether downtime is acceptable.

Start with cable compatibility
Before comparing methods, confirm the fiber type. In residential FTTH and FTTP environments, single-mode fiber is usually what matters, and it accounted for 72.38% of shipments in 2025, according to Cognitive Market Research’s fiber optic cables market report. If you buy the wrong patch cable or connector type, the extension won’t behave like a simple plug-and-play job.
That’s one reason generic shopping based on “looks right” is risky. Connector polish, fiber type, and termination style all have to match the existing setup.
Method 1: Coupler and patch cable
This is the most approachable indoor method. You leave the existing termination alone, connect a compatible patch cable with a coupler, and route the extension to the new location.
What works well:
- Short indoor runs
- Temporary or reversible changes
- Home office and gaming setups
- Situations where you want the least invasive option
What doesn’t:
- Dirty connectors
- Mixed connector types
- Long exposed runs in risky areas
- Mission-critical links where every connection point matters
A coupler adds another mated connection in the path. That doesn’t automatically make it bad. It just means cleanliness and fit matter.
Method 2: Splicing
Splicing creates a more permanent join. Mechanical splicing is one option, while fusion splicing is the cleaner professional standard when low loss and long-term reliability matter.
This is the method for:
- Permanent relocations
- Longer structured runs
- Business environments where exposed couplers aren’t ideal
- Repairs to damaged fiber
This is not where most DIY users should start. Splicing takes proper prep, proper tooling, and a controlled work process. A bad splice may still pass light while creating unstable service.
If the connection supports workstations, phones, cameras, or anything that can’t go down during business hours, splicing is usually a technician job.
Method 3: Media converters
A media converter changes fiber to Ethernet, or the reverse, so you can bridge between fiber and copper infrastructure. This can make sense when the incoming fiber needs to stay where it is, but the network handoff needs to move somewhere more practical.
This method shines when:
- You already have usable copper runs in place
- You need to integrate with existing network hardware
- Moving the fiber itself would be messy or high risk
- The business has a rack, switch, or structured cabling already installed
The trade-off is complexity. You’re adding powered hardware and another point of failure. For some sites, that’s perfectly acceptable. For others, especially simple home setups, it’s overkill.
Fiber Optic Extension Method Comparison
| Method | Typical Cost | Skill Level | Signal Loss (Insertion Loss) | Best For |
|---|---|---|---|---|
| Coupler | Lower than splicing or converter-based setups | Low to moderate | Some added loss at the connection point | Indoor home office or gaming extensions |
| Splicing | Higher due to tools or technician labor | High | Lower loss when done correctly | Permanent runs and business-critical links |
| Media Converter | Moderate to higher depending on hardware | Moderate | Depends on the full design and added hardware path | Bridging fiber to existing Ethernet infrastructure |
How to choose without overcomplicating it
Use a coupler when the run is short, indoors, and you can protect the cable.
Choose splicing when permanence, finish quality, and reliability matter more than convenience.
Use media converters when the problem isn’t the fiber length. It’s where the network needs to hand off into the rest of the building.
If you want a broader technical baseline before making that call, this fiber installation guide is a good companion resource.
The common mistake
People often compare methods by price first. That’s backwards. Compare by failure consequence first.
If a home desk loses service for ten minutes while you reseat a connector, that’s annoying. If a front office, VoIP setup, or payment station goes down because of a shaky DIY extension, the cheapest method stops being the cheapest.
How to Extend Fiber with a Coupler and Patch Cable
If your route is indoors, protected, and straightforward, a coupler and patch cable is usually the cleanest DIY path. This method avoids splicing and keeps the original install mostly untouched.
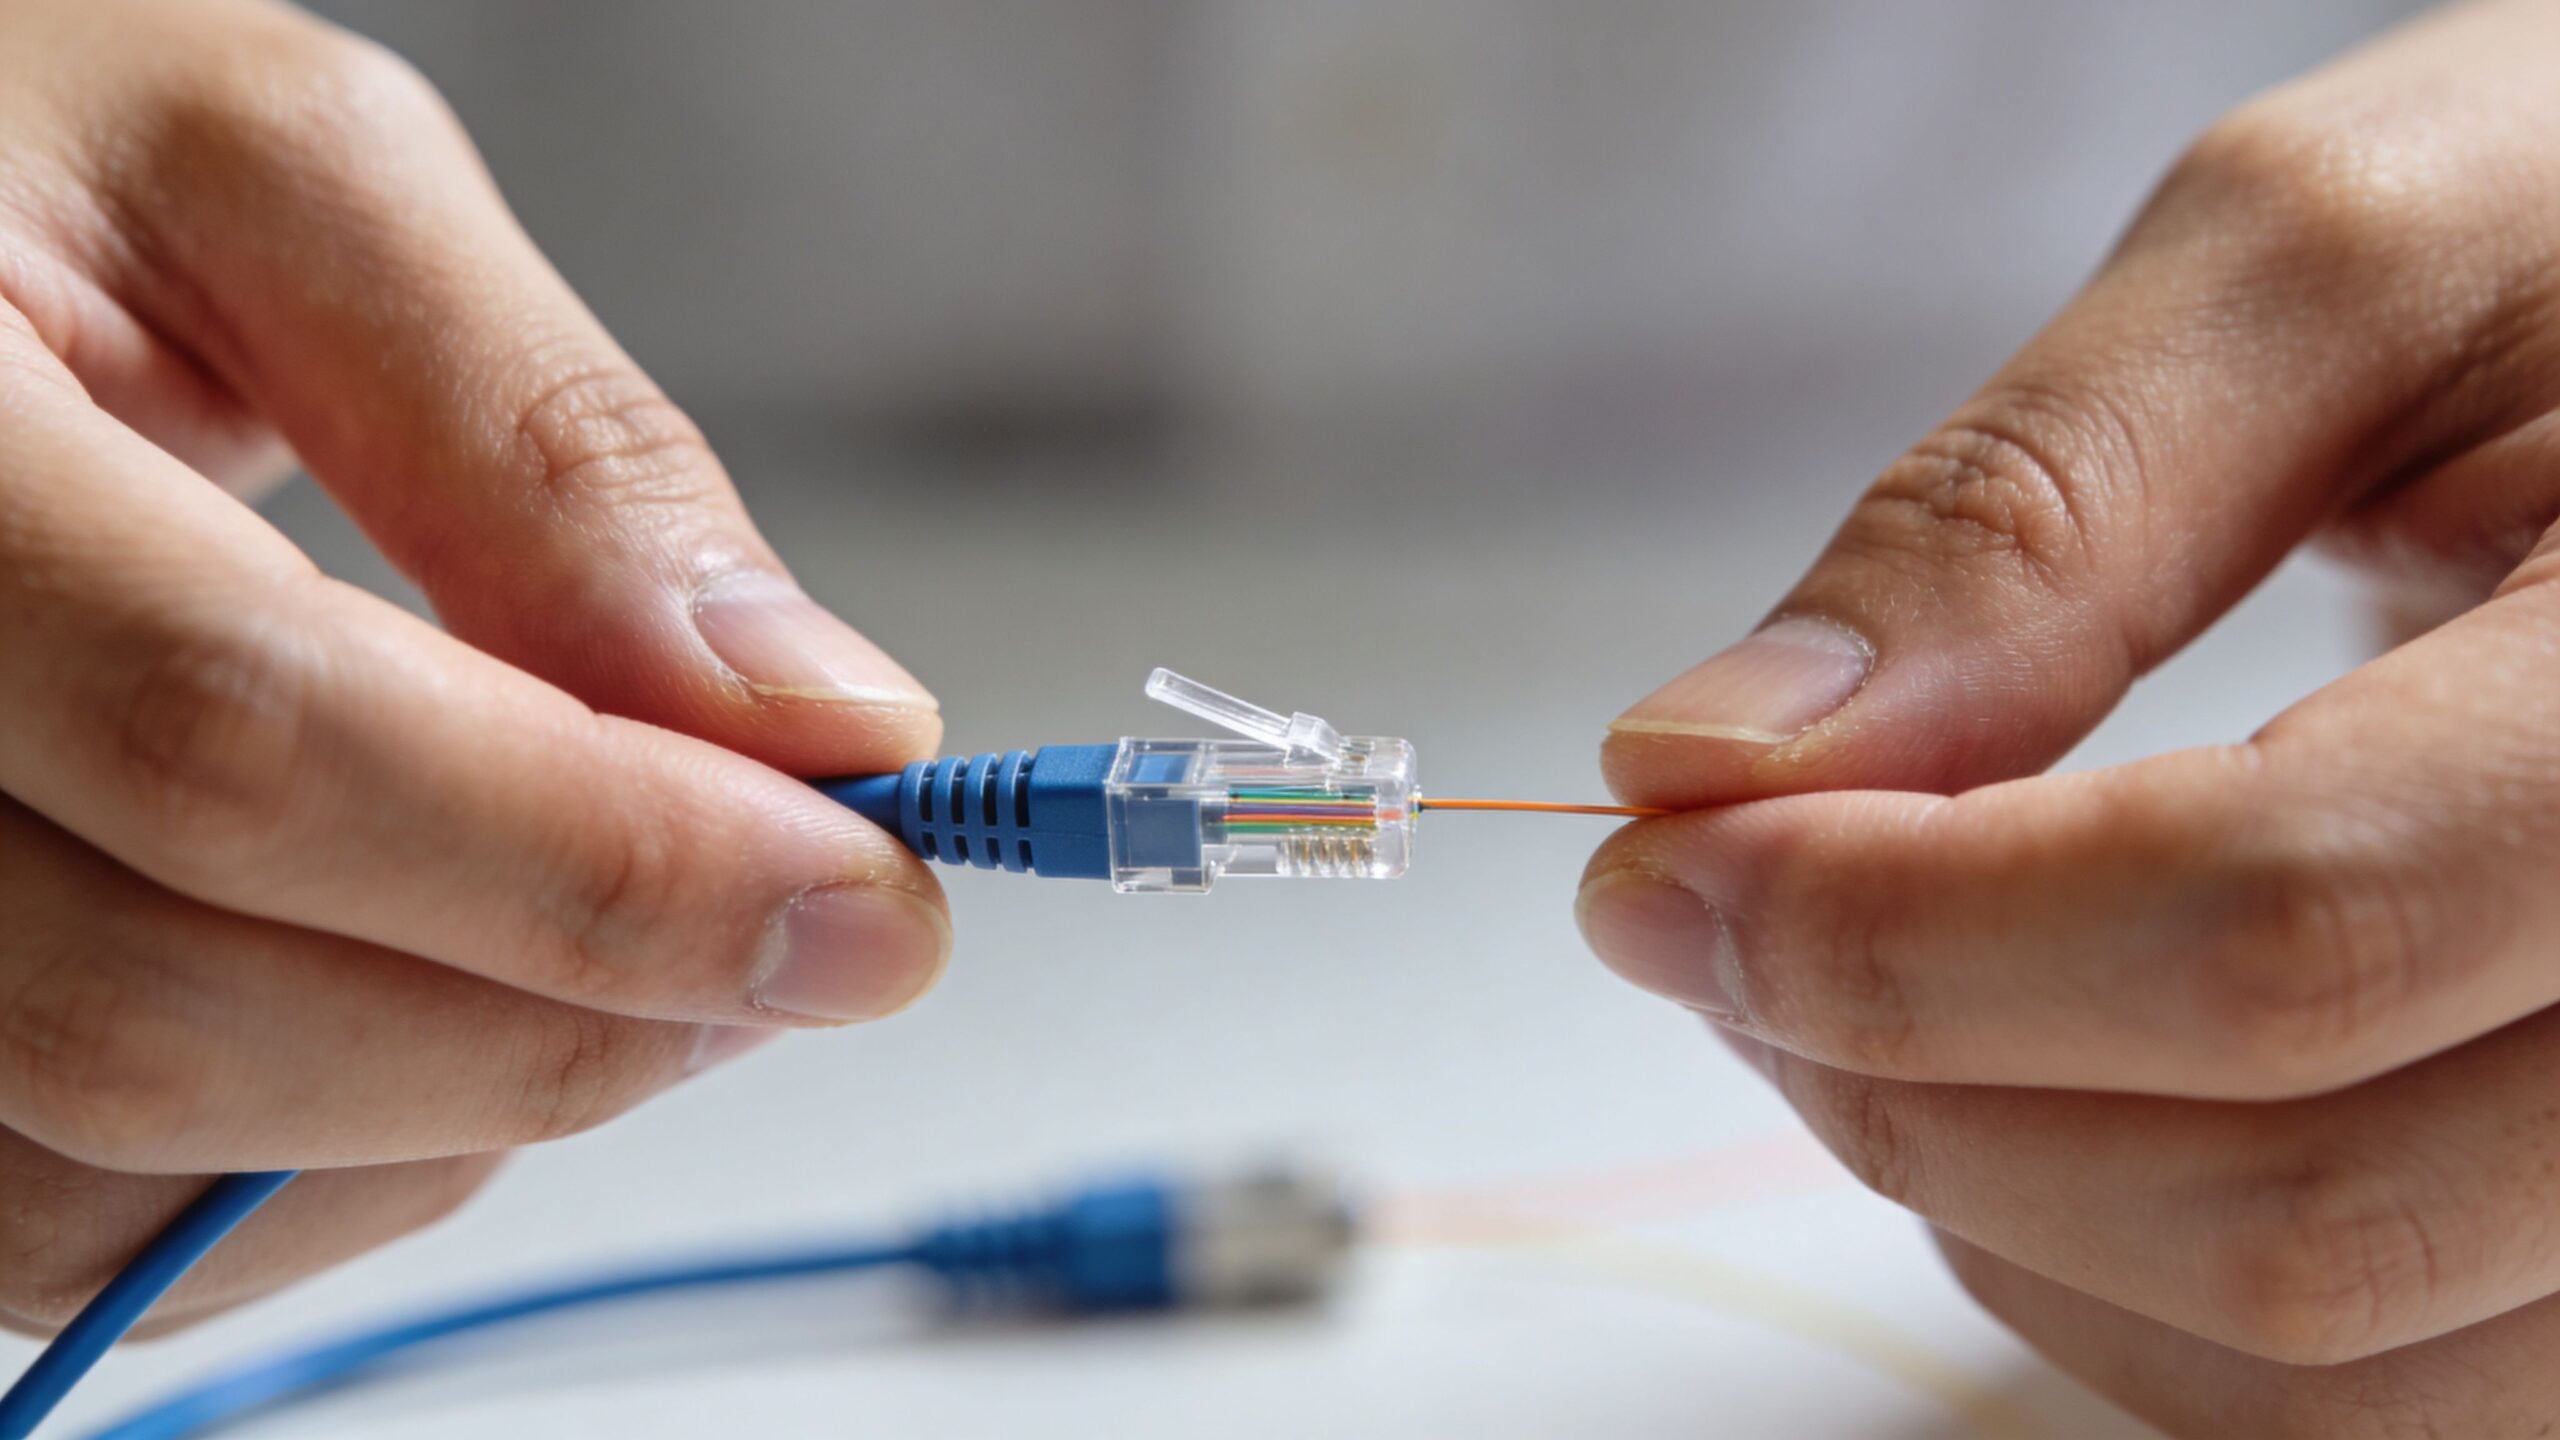
It only works well if the parts match and you handle the cable gently. Most trouble starts with connector mismatch, contamination, or routing the extension like it’s speaker wire.
What you need before you start
Gather everything first so the existing connection isn’t left open any longer than necessary.
- Matching fiber patch cable: Match the existing fiber type and connector style exactly.
- Compatible coupler: The coupler has to match both connectors.
- Connector cleaning supplies: Clean end faces matter more than people expect.
- Cable management hardware: Use raceway, low-pressure clips, or other fiber-safe routing hardware.
- A planned route: Don’t open connectors until the path is ready.
One useful detail for tighter indoor spaces is cable choice. Fast Cabling’s extension guide notes that bend-insensitive fiber is often about 20-30% pricier, but manufacturer claims say it can reduce installation errors in tight spaces by up to 40%. For a DIY coupler job in a home office, that can be worth paying for.
The actual process
Shut down and protect the work area
Power down or disconnect the equipment that depends on the link. You don’t need to turn this into a major outage window, but you do want a calm work area where the cable won’t get stepped on, yanked, or contaminated.
Keep dust away from the connector ends. Don’t set fiber tips on a floor, shelf, or desk.
Clean first, connect second
Experienced techs save themselves callbacks because even a new patch cable can carry debris from packaging or handling.
Clean both connector ends according to the connector type, then inspect if you have the tools to do so. If you don’t, at least keep caps on until the moment you mate the connectors.
Dirty connectors can mimic bigger problems. People assume the cable is bad when the end face is the real issue.
Join the cable with the coupler
Insert each connector into the coupler gently and fully. Don’t force anything. If the connector style doesn’t seat cleanly, stop and verify the match instead of trying to make it work by pressure.
Once connected, place the coupler where it won’t hang in midair or get tugged every time someone moves furniture.
Route the patch cable correctly
After the connection is made, route the patch cable along the planned path. Use smooth turns. Avoid door pinch points, chair casters, vacuum paths, and anything that turns a clean install into a future repair.
A short demo can help if you’ve never handled delicate low-voltage cabling before:
Secure it without crushing it
Use hardware meant for delicate cable routing. Don’t staple it. Don’t cinch it tight with zip ties. Don’t smash it behind trim with a putty knife and hope for the best.
Good installs stay serviceable. You should be able to trace the run, access the coupler, and adjust the equipment later without damaging the line.
When to stop the DIY attempt
A coupler job is reasonable when all of this is true:
- The cable stays indoors
- The route is visible or protected
- No wall fishing is needed
- The connector match is confirmed
- The service can tolerate minor testing and adjustment
Stop and call a technician if the cable has to pass through walls, go outdoors, or support anything business-critical. That’s where a simple extension stops being simple.
Tackling Outdoor and In-Wall Fiber Extensions
Outdoor and in-wall fiber work is where people get into trouble fast. On paper, it looks like the same task with a longer route. In practice, it’s a different class of job.
Walls hide sharp framing edges, insulation, fire blocking, and existing electrical runs. Outdoor paths add moisture, UV exposure, physical damage, and strain. The cable that worked fine along a baseboard may be completely wrong for a conduit run, soffit path, or aerial span.
Why these jobs go sideways
A homeowner can often manage a short exposed indoor extension with care. Once you move behind drywall or outside the building envelope, you’re dealing with code issues, protection requirements, and much less room for error.
The common problems are predictable:
- Wrong cable jacket: Indoor patch cable gets used where outdoor-rated cable or armored cable is needed.
- Poor protection: Cable gets pulled through rough openings without conduit or proper bushings.
- Hidden bend violations: Tight wall cavities force turns you can’t see after the wall is closed.
- Bad support: Aerial sections get treated like they can span from point to point.
Aerial extensions need tension control
For aerial extensions in storm-prone areas, fiber elongation becomes a serious risk. Exceeding Maximum Applied Tension, often only 0.6% of the cable’s length, can cause permanent damage, as described in this ADSS aerial extension discussion. Professional installers use proper ADSS cable and extension links to control tension and maintain safe geometry around poles and structures.
That’s the part many DIY attempts miss. People think about distance and weather. They don’t think enough about load, strain, attachment hardware, and what happens when wind or snow changes the forces on the cable.
Outdoor fiber has to survive after install day. A route that looks fine in calm weather can fail once the cable starts moving under load.
In-wall work has a different risk profile
Fishing fiber through a wall sounds cleaner than running raceway. Sometimes it is. But it’s also easier to nick the cable, exceed bend limits in a blind turn, or leave a connector where it can’t be serviced.
For homes and small businesses, I’d be cautious anytime the job includes:
- drilling through multiple studs,
- sharing pathways with electrical work,
- pulling through insulation-heavy exterior walls,
- or sealing penetrations that affect moisture or fire barriers.
If the route must disappear into walls, hire someone who does low-voltage pathway work regularly. You want a clean path, proper protection, and a result that can be serviced later without opening the wall again.
When professional help is the smarter move
This is the threshold where calling a certified technician or using a provider support option like a protection plan usually makes sense.
Professional help is the better call when:
- The extension leaves the conditioned indoor space
- The run supports a business, phone system, or security devices
- The route crosses an attic, crawlspace, wall cavity, or exterior wall
- The cable may be exposed to pets, landscaping tools, ladders, or storms
A bad outdoor or in-wall fiber optic cable extension doesn’t just fail. It can fail in a way that takes longer to diagnose and costs more to put right.
Testing Your New Connection and Troubleshooting Common Issues
Once the extension is in place, test the connection before you button everything up and walk away. Don’t assume “the light is on” means the job is good.
Start with the simplest test. Connect with a wired device if possible, then check real-world performance. If your setup includes a router, test from the point that reflects how you typically use the connection.
What to check first
Use a short checklist instead of guessing.
- Link status: Confirm the ONT, gateway, or connected device sees the link as expected.
- Speed behavior: Run a wired speed test more than once and look for consistency, not one lucky result.
- Stability: Watch for drops, renegotiation, or intermittent service during normal use.
- Latency-sensitive tasks: Try a video call, cloud upload, or game session if that’s the reason for the extension.
If you need a starting point for network checks beyond a simple speed test, a set of network diagnostic utilities can help narrow down whether the problem is the new extension or something else in the local network.
If there’s no signal
No signal usually points to one of a few issues.
Check connector seating
Unplug and reseat each side carefully. A connector that looks connected may not be fully latched or properly aligned in the coupler.
Verify the parts match
Wrong connector style, wrong polish type, or wrong fiber type can stop the link cold. If you had to “make it fit,” assume incompatibility until proven otherwise.
Inspect the route
Look for one sharp bend, one crushed section under furniture, or one place where the cable got pinched. One bad point can kill the entire run.
Most no-signal calls after a DIY extension come down to mismatch, contamination, or physical stress on the cable.
If the signal works but performance is poor
Frustration arises because the connection seems half alive. Pages load, but uploads drag. Games feel inconsistent. Video meetings freeze at the worst moments.
Check these next:
- Dirty connector end faces: Clean and reconnect.
- Coupler quality: Cheap or damaged couplers can create unstable results.
- Cable handling: Revisit every corner and support point for excessive bending.
- Path changes: If the extension forced the router into a worse Wi-Fi location, the fiber may be fine and the wireless may be the weak point.
If the problem is intermittent
Intermittent trouble usually means movement, not mystery. The cable shifts when a chair rolls over it, a door closes, or a piece of furniture gets nudged.
Try this approach:
- Leave the link up and gently inspect the route
- Touch one segment at a time instead of moving everything at once
- Watch for dropouts near the coupler, behind furniture, and at corner turns
- Replace the patch cable before assuming the original service line is bad
If basic cleaning, reseating, and route correction don’t solve it, stop troubleshooting by trial and error. A certified technician can test loss properly and tell you whether the issue is in the extension, the termination, or the original drop.
Frequently Asked Questions About Fiber Extension
Can I use any fiber patch cable?
No. The cable has to match the existing fiber type and connector type. In most home fiber setups, guessing is the fastest way to buy the wrong part.
Is extending fiber always better than extending Ethernet?
No. If the ONT is already in a safe location, extending Ethernet from that point is often simpler and less risky. Fiber should be extended when there’s a clear reason to move the optical handoff itself.
Will a coupler hurt performance?
It can add loss, but a clean, compatible coupler setup for a short indoor run is often fine. Problems usually come from dirty connectors, poor routing, or bad part matching, not from the idea of a coupler alone.
Should I run fiber through walls myself?
Only if you already understand low-voltage routing, protection, and how to preserve bend radius in hidden spaces. For most homeowners and many small businesses, in-wall work is where professional installation becomes the safer choice.
What about outdoor fiber extension?
That’s usually not a casual DIY job. Outdoor routes need the right cable, the right protection, and proper support against weather and physical strain.
Will extending my fiber void support or create service issues?
It can complicate troubleshooting if the extension introduces damage, contamination, or incompatibility. If the connection matters for work, phones, or daily operations, a technician-installed solution is usually the cleanest path.
What’s the safest DIY option?
A short, indoor, visible run using a matching patch cable and coupler. Once the route goes outdoors, behind walls, or into a business-critical environment, the risk goes up quickly.
If you want the connection moved without gambling on cable damage, code issues, or a hard-to-diagnose performance drop, Premier Broadband can help with the right path forward. For simple relocations, repairs after storms or accidental damage, and situations where a certified technician is the safer choice, working with a fiber provider that understands both residential layouts and small business needs saves time and avoids costly mistakes.